
If the fact that we all thought it was a good idea to start a crafting blog called "Bitches Make Shit" didn't clue you to the fact that we're all a bit nerdy, this next bit definitely will. Hint: Because there's nothing not nerdy about deciding to make a blanket that looks like the TARDIS. Except for the part where it's AWESOME.
The basic idea and pattern came from The Doctor Who Pattern Book by Joy Gannon. It's currently out of print, however, you can find copies on Ebay or Amazon.com relatively cheaply.
I deviated from the pattern a bit. I started off with two pieces of blue pre-quilted fabric that were each 2 1/2 yards long. The first thing you want to do is cut one of these pieces in half longways, since the blanket is one middle panel with two side ones. The detail to actually make it look like the TARDIS is just ribbon sewn to these panels. I used 7/8th inch satin ribbon for the long lines, and 5/8th inch satin ribbon for the window detailing. Keep in mind you're going to need A LOT of ribbon. A lot. I used at least 43 yards ribbon. I'm not kidding. It was intense. Like the circus. The book recommends sewing all the pieces together first, but that would everything more difficult because not only would you have to sew all these details on, you would have to deal with a huge bulky mass of blanket, which is a severe pain in the ass. (I know because I forgot to fully sew down a window just as I was about to put the binding on the whole thing)
1. The first step for the side panels is to put two parallel lines down one side of the panel. The first line should be 1 1/4 inch from the where the seam for your edge is going to be. The second should be one inch from the center of the first line. Repeat for the other side of the panel.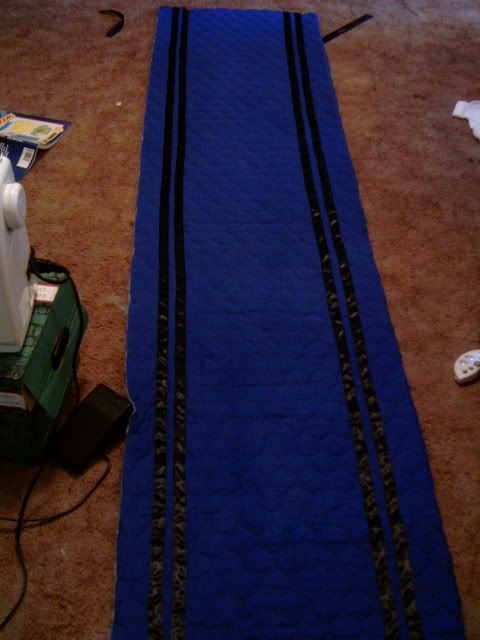
3. Next come the window type things. The squares were 11 inches high and 7 inches wide. Again, I found it helpful to sew the ends and the squares together by hand. Again, no need to be real neat, it's just to keep the ribbon from shifting too much. For the window, you just made a basic square but added two more vertical lines and one more horizontal. For the background fabric I found it easier to pin the window to the fabric and cut it out that way. I tried just cutting an 11x7 piece of fabric, but it didn't fit the ribbon frame for the window. It's easier to just make sure and cut it out using the window frame like a pattern. Sew the 3 squares and one window in the middle of the panel evenly spacing them vertically.
4. Repeat steps 1-3 for the other half panel on the other side.
5. Making the main back panel is basically putting two side panels together. The tricky part is the two sets of vertical lines down the center of the panel. Factoring in the seams, find the center of the back panel. Sew a line of ribbon 3/4 inch to the right of this center line. Sew another line 1 inch from the center of the first line. Repeat only sewing a line of ribbon 3/4 inch to the left of the centerline.
6. Make the two sets of parallel lines each 1 3/4 inch from the seam on either side of the panel. So on, so forth, just like the side panels.
7. Finally sew the side panels to the back panel and finish the ends anyway you'd like.
Inaction shot of the finished blanket.
8/26/07
Tardis Blanket 


![]()
Subscribe to:
Post Comments (Atom)


1 comment:
you finished! It looks awesome.
Post a Comment